Week 5 | March 7, 2016
CSS Positioning & Layouts
Lesson Prep
- Open: Class Website (Week 5), GitHub, Slack & Sublime
- In Sublime open your site: File > Open > yoursite.
- Start a new directory in your root folder called week5.
- Create a new file called index.html in your week5 directory and paste in the code below:
<!DOCTYPE html>
<html>
<head>
  <title>Week 5 - Positioning</title>
  <style></style>
</head>
<body>
  <div id="position">
    <h1>How to Position</h1>
    <div id="boxes">
    <div class="box" id="red"> </div>
    <div class="box" id="green"> </div>
    <div class="box" id="blue"> </div>
  </div>
  </div>
</body>
</html>
The Float
Open the index.html page from your float homework in a browser.
The float Property
Allows you to "float" an element to the left or right, which brings any element beneath it up, while still respecting the space the floated element occupies.
The clear Property
Allows you control the float, meaning you can determine on which side of an elements other elements are not allowed to float.
Example
.box{
float: left;
margin-right: 20px;
}
Display Review
Each HTML node can be displayed in one of two ways.
Block-Level
HTML elements that start on a new line. Examples: <h1>, <p>, <div>
Inline
HTML elements that stay on one line and flow in between surrounding text. Examples: <span>, <strong>, <img>
Both
In your CSS, you can determine that an element take on the properties of both. Example: display: inline-block;
CSS Positioning
There are a handful of positioning schemes that CSS makes available for you to control the layout of a page.
Static Positioning
This is the default or normal behavior for any block-level element, that they sit on top of each other no matter how much space is around them.
Relative Positioning
Moves the element relative to where it would be in the normal flow. This does not affect the position of the elements around it.
Absolute Positioning
Positions an element relative to its containing element. It is taken out the normal flow and the elements around it are positioned as if it's not there. These elements move with the page as a user scrolls.
Fixed Positioning
A form of absolute positioning in that it removes the element from the normal flow of the page, but it fixes an element in the browser window and does not move with the page.
Properties
- Set position to any of the three options above
- Four other properties allow you to move your element: top, right, bottom, left
- You set the four position options as px which represent the distance from those sides. So setting left: 100px; would put your element 100 pixels from the left.
Example
#red{
position: relative;
top: 100px;
left: 20px;
}
Exercise
- Start a stylesheet in your week5 directory and link it to your index.html file.
- In your stylesheet, add styles to the class box to give it a width and height of 300px and a background-color.
- Add the position property and set it to relative with a top:200px; and left:300px;
Overlaps
When positioning elements, you might run into cases where one element overlaps another.
z-index
You can set the z-index property to any number you want. The elements with the highest numbers will appear on top.
#red{
z-index: 100;
}
#green{
z-index: 105;
}
Commit Your Work
- git add -A
- git commit -m 'Your Commit Message'
- git push origin master
Course Eval
Validation no: 137804
In-Class Layout Practice
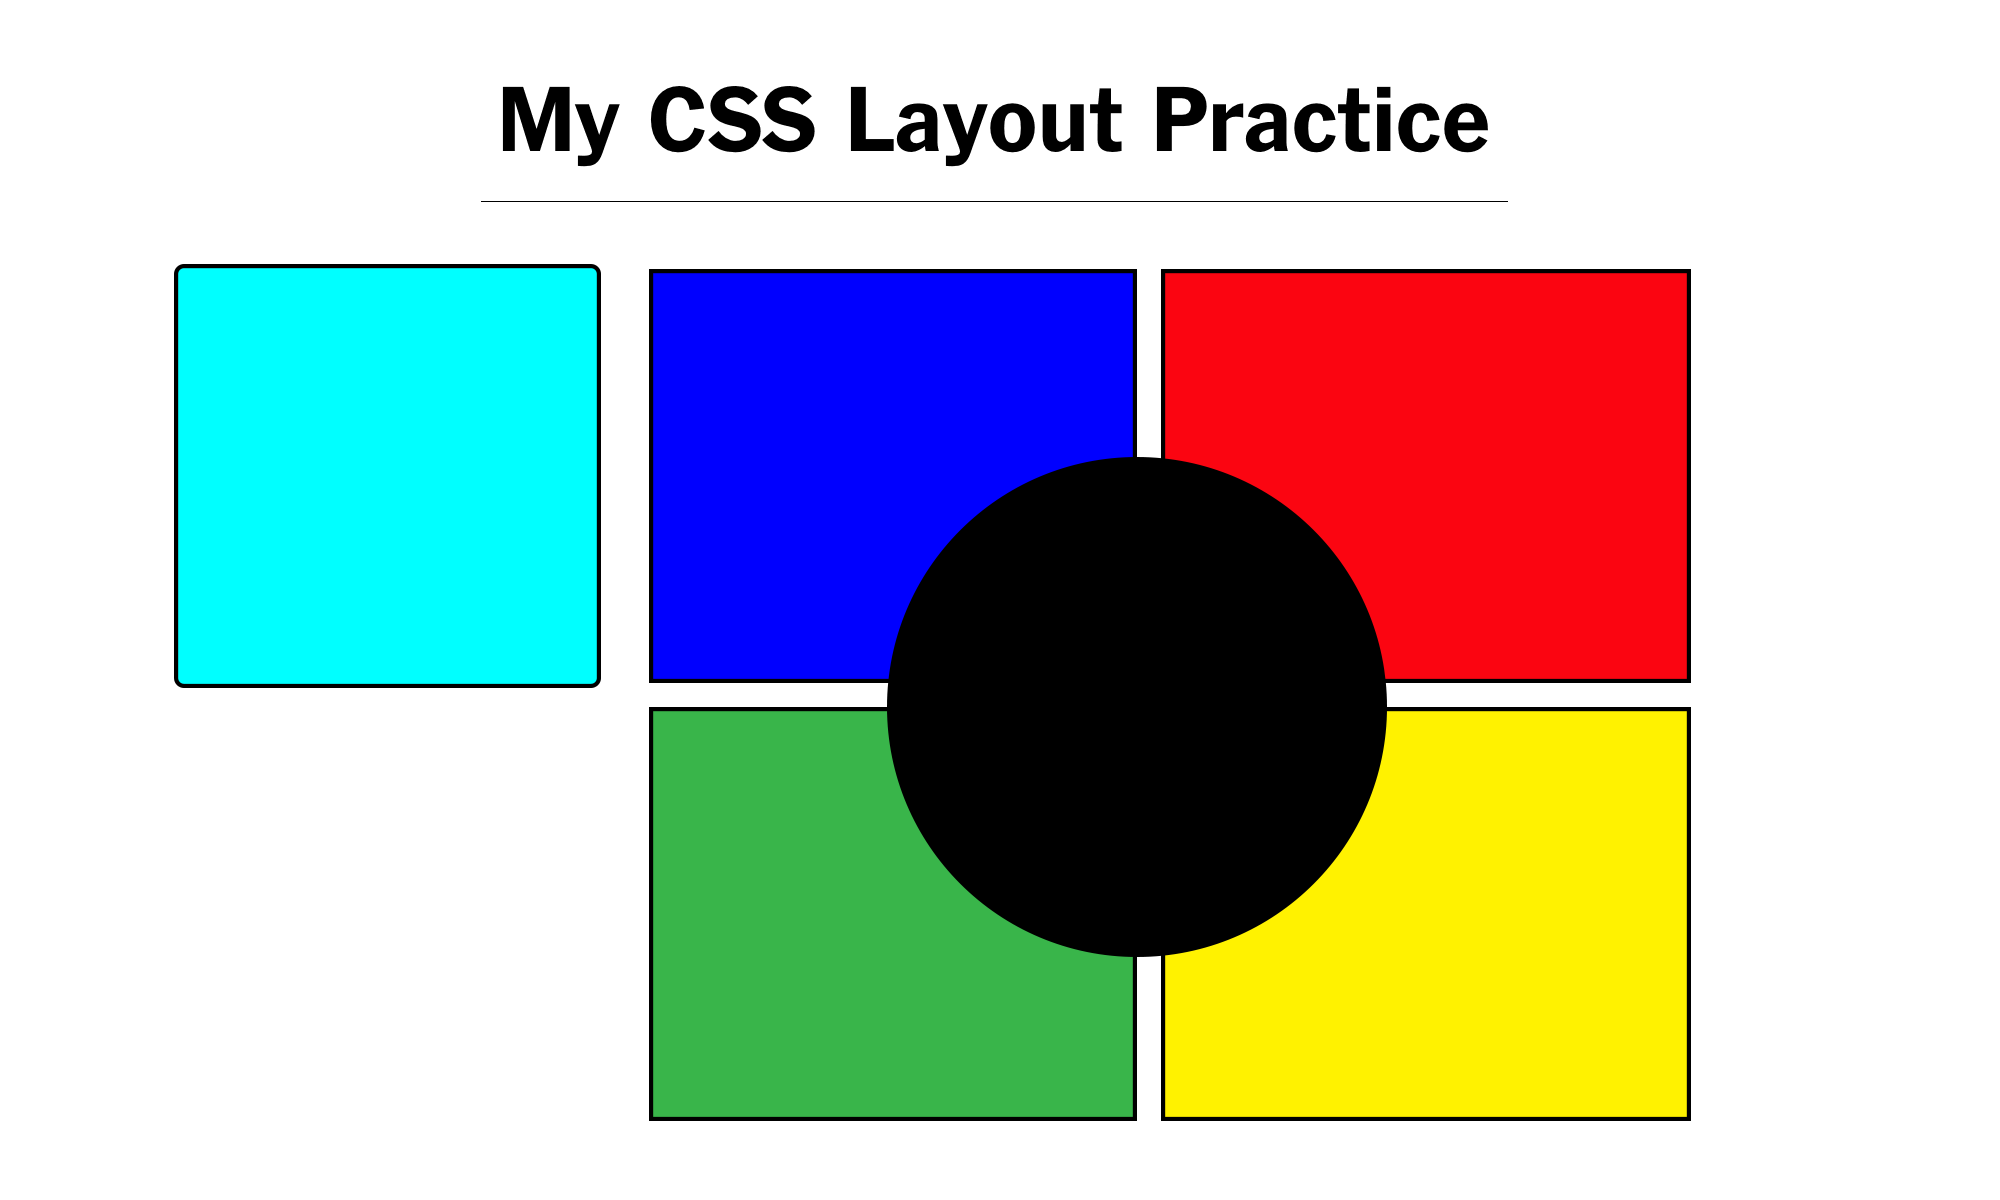
Using your recently gained knowledge of position properties, start a new directory called position-practice and new index.html and style.css files, and use HTML and CSS to roughly re-create the wireframe on the next slide. Choose your own fonts and colors.
Hint: Use your book, Google and each other. There are multiple ways to do this. Remember how to center block level objects.
Before you leave, push your changes to GitHub.
Assignments
Next Module
If you are in the Javascript & jQuery module and haven't yet ordered the book, please do so (BUY Javascript&JQuery).
Read Chapter 1.